Digital Download Guides / September 29, 2026
Why Did My Printable Art Come Out Blurry?
By Rock Paper Scissors
Diagnose blurry printable art by checking the original file, pixel dimensions, enlargement and printer output before paying for another full-size print.

Article guide
Start with the file, the finished print size, and one controlled test. A soft print can come from a small preview file, too much enlargement, a soft original, or the printing process. Buying different paper or changing a resolution number before identifying the cause can leave the same problem in place.
Keep the original download unchanged. Note the exact filename, pixel dimensions, intended printed width and height, and the application and printer or service used. That short record makes it much easier to compare results or ask for useful help.
Match the symptom to the next check
| What you see | What to check first | Useful next step |
|---|---|---|
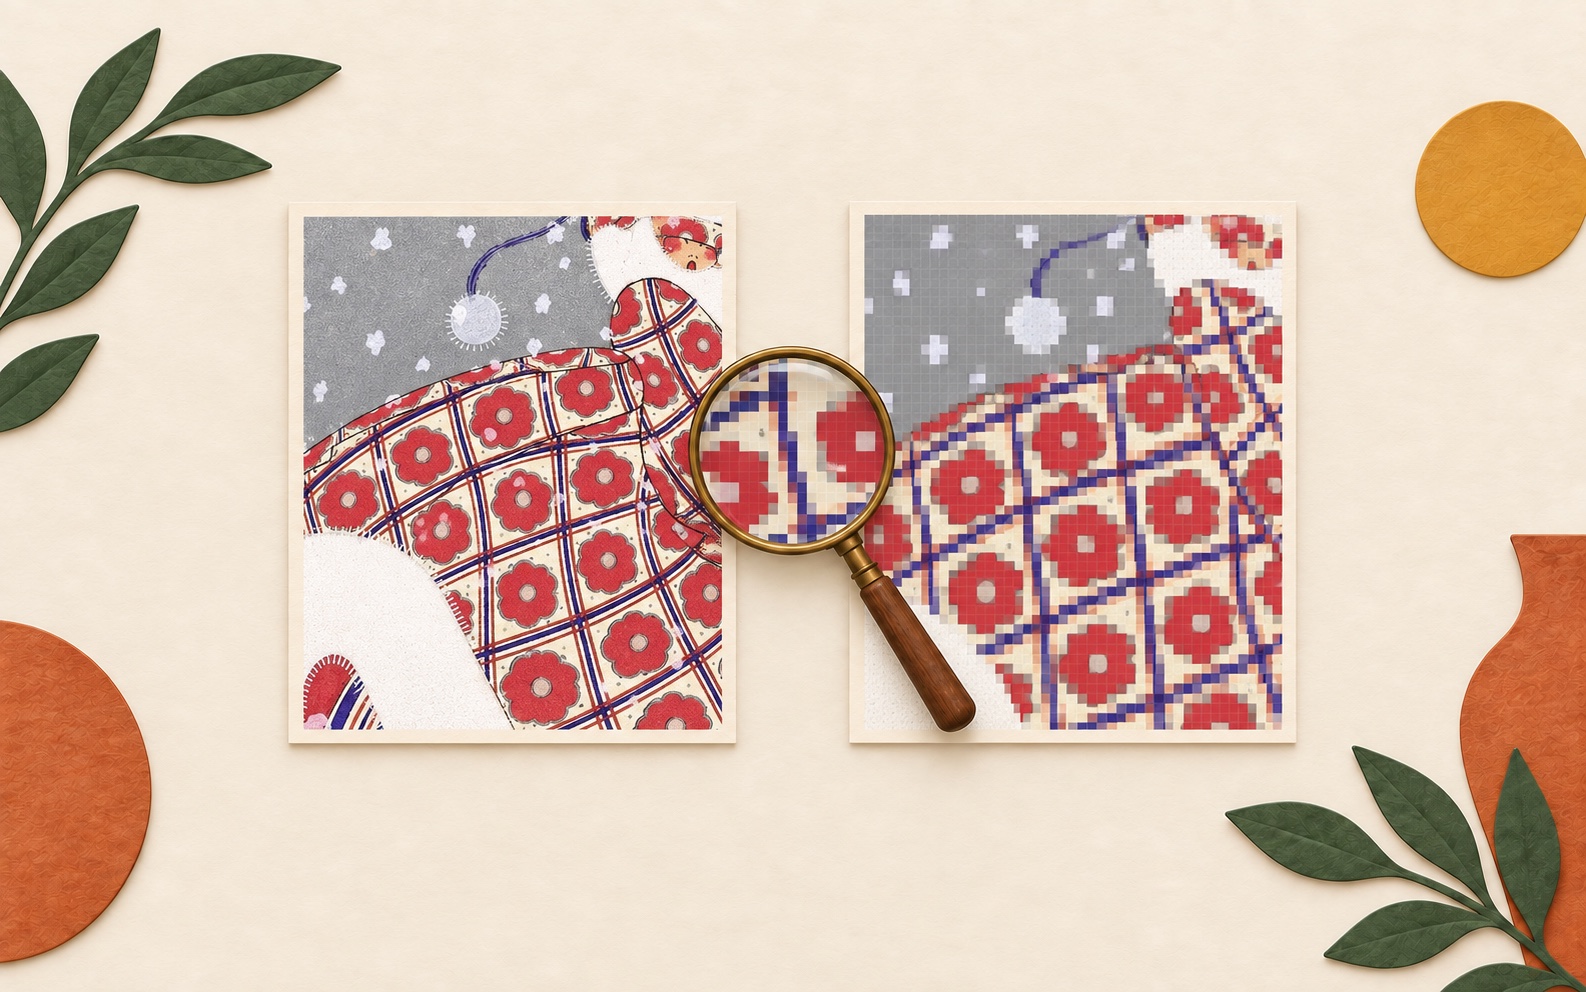
| Large square pixels or stair-stepped edges | Pixel dimensions at the intended print size | Find the original package file and calculate its available PPI |
| The source itself looks soft at 100% view | Whether you opened a preview or the supplied original | Compare the exact original and ask the seller about its intended output |
| The file looks clear but the print has bands or smears | Printer test output, paper compatibility and model-specific guidance | Run the manufacturer’s documented diagnostic, without changing the artwork first |
| Only the enlarged version is disappointing | Whether scaling spread the same pixels over a larger area | Test a smaller output or ask about a larger suitable source |
1. Confirm you printed the download, not its preview
Open the original delivery folder. A listing screenshot, browser thumbnail or messaging-app copy may be a different file from the supplied artwork. Compare filenames and dimensions with the package notes. Do not use the size of the image on your screen as evidence of its available print detail.
If several proportions are included, select the one for your intended output. Our printable-file preflight checklist walks through that handoff. If you are using a different package, follow its own included-file instructions rather than borrowing another product’s file list.
2. Calculate the pixels available at your chosen size
Divide each pixel dimension by its corresponding printed dimension in inches. For example, a 2400 × 3000 pixel file at 8 × 10 inches supplies 300 pixels per inch on each axis. At 16 × 20 inches it supplies 150. The calculation describes the file at that output size; the printer or service determines what it requires.
Adobe’s printed-resolution explanation distinguishes pixel count from how densely those pixels are used. Changing a PPI field without adding or removing pixels does not reveal new source detail. Resampling changes the pixel data; it is not proof that a small original now contains authentic fine detail.
3. Separate source softness from output trouble
Inspect a detail at 100% view to look for obvious pixels, compression artifacts or softness already present in the file. That view is a diagnostic, not a physical-size print preview. Some source art has intentionally soft edges or visible paper texture; sharpening everything can change its character.
Next, print a small test that preserves the intended final scale of the detail. A miniature of the whole artwork is not the same test: shrinking it packs the same pixels into a smaller area. If a service will produce the final print, ask which proofing option represents that output before ordering the full size.
4. Change one output variable at a time
Check the exact paper type, orientation and scaling shown in your print dialog, and use the printer manufacturer’s instructions for media settings and diagnostic pages. If a diagnostic page also has bands, missing areas or smearing, keep the artwork file out of the repair experiment and follow that model’s support guidance. Avoid improvised cleaning procedures.
When the source is the limiting factor, a smaller print may be the more faithful option. When the printer or paper is the issue, keep the same file for a controlled comparison. Review home printing versus a print shop if a different production path would suit the job.
What to send when asking for help
- The product or order reference and the exact selected filename.
- The file’s pixel width and height and your intended finished size.
- The application, printer model or service, paper and scaling settings.
- A photo of the whole output and a close detail, with a note about what looks wrong.
- Whether the original file and a printer diagnostic show the same issue.
For the underlying concepts, use our image-resolution guide. The aim is to identify the limiting step before paying for another full-size print.